Kalibr Tube tester L3-3. Some improvements
Replace calibration switches by push buttons.
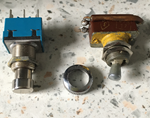 There is not so much to say about this project, but there is a specific operation error possible, which I made a few times myself. The two switches for calibration (Of Gm and Leakage) need to be set back to the measurement position always. It is not so bad for the Gm switch, just Gm doesn't work, and you soon find it out why. Just when you forget the leakage switch, the whole tester is not working, and no clue what is the reason. So those switches should have been push buttons really, in such a way that if you don't push them, they are on 'measure' and not on 'calibrate'. I found very good ones from the company CLIFF, type number FC7105, but they are in fact foot switches, and they need a bit more pressure as would be ideal. , The are not expensive, and what made me very happy is, the mounting hole (and also thread) is exactly the same as the Russian.
Since the thread of the Russian switch is the same, I could use this nice chrome plated ring, which was originally used with the Russian switch. Like this, I do not change the optics of the tester.  The hole in the ring however has to be increased for this, and that was a bit nasty work. It got hot when drilling a hole in it. So be careful not to damage the ring. To get the original ring off, I wrapped a thick cloth around it. The "feel" of the switch is a bit hard, but it works good. By mistake, I bought the Version with PCB pins, but there is also one with solder lugs. In case you take another type of switch, you don't need a push button which always comes back to the original position.
Also, the brown material these Russian switches are made of, I think it is not qualified for very high resistance applications. My impression is, the leakage test has less drift with the new switch. This drift is general quite high with all L3-3 I saw, but with my tester I could get the drift away, by exchange this leakage switch, and by exchange the 22k carbon potentiometer on the Audio Board for a 10-turns wire wound pot. There is dedicated report about revising the Audio Board.
Such a nice result already, and it is the way to go for a quick and good result. But I found a better way:
Nicer Looking Switches
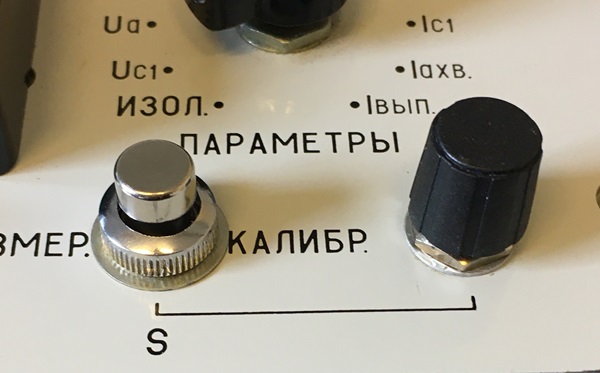
by coincidence, I found those nice switches on an surplus website, for only 3 Euro one, .and I decided to use those instead for the Gm and uA calibration. For the Cliff (foots witches) I found another use later. Similar switches can easily be found as new parts. But as said it needs to be a push button!
The advantage of such switches is, I can do the Gm calibration with one hand only, because they push not so heavy, and my trust in the contact quality is a lot better too. I took one apart to see what's inside, and inside contacts are gold plated. I do not have use (yet?) for the build in lamps option, but who knows.
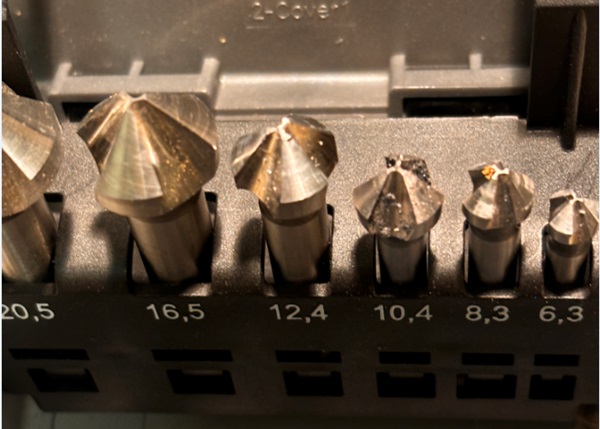
For mounting those, the deck plate hole needed to be widened to 16.5mm, and you need to be very careful not to spill metal scrap inside the tester. This is why I prefer a tool set like this here. It gives less of a mess, and clean round holes. It's a bit costly, when you buy good quality, but it's a nice investment. Use alcohol as a lubricant for aluminum, that keeps the tools sharp, and cuts the holes nicer too.
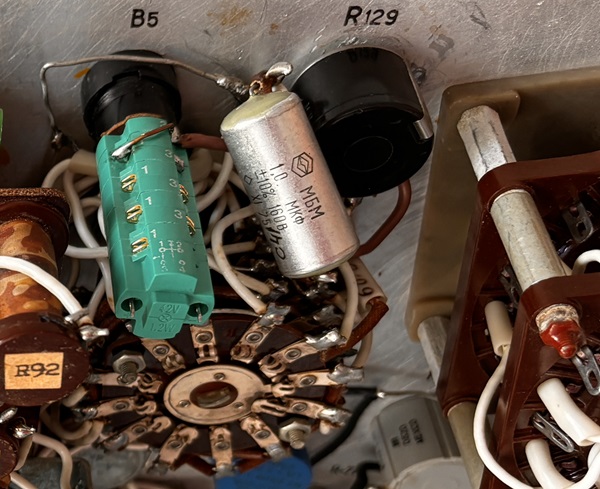
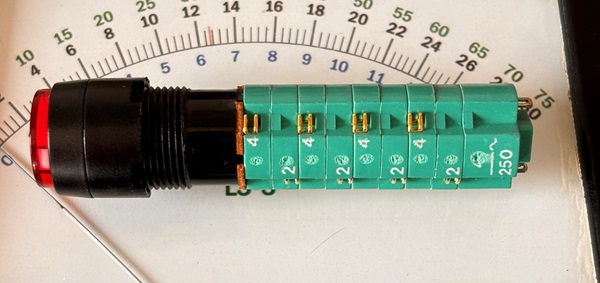
Here is the result. R129 was exchanged too, for a 10-turns pot meter.
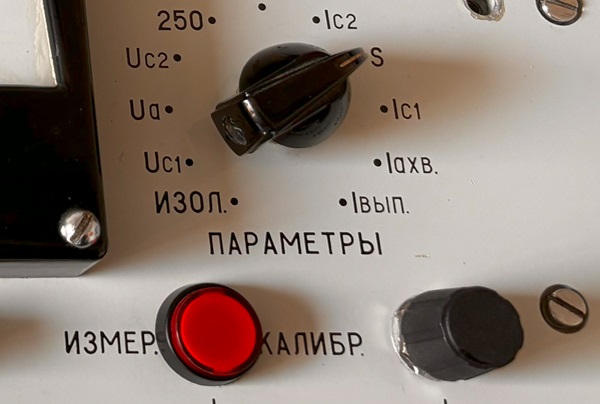
Like this I can do the 'S' (=Gm) calibration quickly, and with one hand only. I press the button with my thumb, and rotate the 10-turns potmeter with my finger. That works quickly and easy, and it's no compare to the original way, with a flip switch and a screw driver. There is another description dedicated to how to increase the stability of the Gm calibration in general.