How to add an AU8 Socket to the L3-3 tube tester.
(Last updated:
18-Mai-2016 15:20
)
Follow @emissionlabs
© COPYRIGHT NOTICE All Rights Reserved
![]()
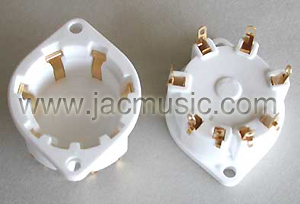
It can be seen, this tester was focused on military applications. Though it does have the very old B4 socket, it does not have the pre war European sockets, so called "Aussensockel" for tubes like AD1, AZ1, AZ4, etc. Called Au8 socket. As I have no intention to test Russian military stuff with it, the military socket #2 is completely useless for me. Moreover, the mounting hole and screw holes for this socket fit exactly the NOS Au8 sockets I have. What a nice coincidence!
A small tribute to the Au8 tubes.
|
|
|---|---|
|
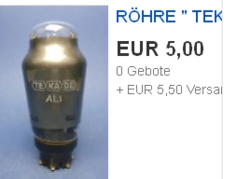
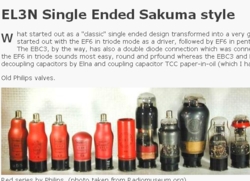
Due to this unusual socket, very beautiful NOS tubes can be found with Au8 socket at reasonable prices, even tubes like EL3n which are small EL34, they are low cost. There is the "A" series which is 4Volts, and the "E" series which is 6.3 Volts. Some people that do not know what they are talking about, dislike that socket. Their talk is very useful, because thanks to this, we can find beautiful NOS tubes for quite low prices still. When you go for the 4V heaters, you can find such beautiful tubes like AL1, which can be triode connected, and you have a top class driver tube, of appearance you never get any other way. (AL1 is a directly heated pentode, and the mother of EL34). Or how about 4654, this is very close to EL34 with a top cap. It is true, sometimes very old sockets in old radios can be broken, but NOS Au8 sockets can still be found for just a few Euro, and Yamamoto offers even a gold plated ceramic socket. Furthermore, this socket has the MAJOR advantage you can access the contacts when you remove the tube, for cleaning or inspection. Also, this socket pulls in the tube by itself. Did you know that? Such a nice feature. It is amazing, I write this text now in 2016, and the market for cheap NOS tubes has dried up. What you can get still nicely is Russian NOS, which is not pin compatible to American NOS, such as 6N2P, a finest version of 12AX7. When you make the step to using the Au8 socket, you can an unbelievable choice of beautiful tubes, which the crowds "does not like", however most of those opinion makers, know the tubes only by pictures. So better listen to people who really know about tubes. Are you tired of paying a fortune for NOS 5U4G? So what's the problem with using AZ4? Are you tired of searching for crazy priced EM34, which may not even be very bright? So why not use electrical identical EM4 for half the price, at find real NOS easily? Or have you looked at El3n, which is an early (lower power) version of EL34. And all those wonderful driver tubes that cost only 20 Euro, or sometimes I see then go for 5 Euro only. Mint quality NOS that is. This, and a lot more is the hidden world of the Au8 socket tubes, but you do need to concentrate a little bit on this. There is nobody presenting you on a silver plate, how to replace those in existing Octal schematics, and if this is your main problem, perhaps you should not use them. So it is going to stay a nice, hidden area for people who have electronics skills, and pay very little for those nice NOS tubes. Though I have to say, they are getting discovered a little bit. So days when AZ4 cost only 3 Euro are gone. Have you every thought of using the AZ4 rectifier? In case you did not know? This is similar like 274B. Just 4V heater and Au8 socket of course. 274B.?! Perhaps now it rings a bell. On Ebay you find NOS AZ4, from 30...60 Euro. For prices much lower than WE274B, and you can easily get then as NOS, or when you don't mind used tubes, with a bit of luck, you find used mesh wire versions, for 50...100 Euro. Au8 NOS Mesh wired versions are rare, and prices depend a lot on the brand, and condition, and can go up to 250 Euro. There is a optical lovely Tungsram Version AZ4 around, it looks much nicer than any USA 5U4G. Yamonoto uses uses AZ4 in his "All European Tube" amplifier.
|
 The Au8 socket tubes are not just some sockets. These are from a period where Philips, Valvo and Telefunken tried to make the "best" modern tubes that exist, in the days where the pentode was discovered. Though the Au8 socket was indeed commercial, and followed up of the B4 and B5 sockets, it had the disadvantage, the wires had to be hand soldered into the tube base, and competition of Local and machine made Octal tubes was unbeatable. So those sockets never really made it into a large volume market. However the tubes itself are from a period, where many great tubes were introduced, and technical specifications came before miniaturization and low cost. As miniaturization is always a compromise on the tube curves, the larger "bulkier" tubes are often the better choice. So you see often quite large size constructions. As cost was not dominating the design yet, we see many of those tubes with red conductive paint providing RF shielding, and top caps are found more often, simply because that is better. Top caps of those days had long (grounded) covers, allowing to shield the tubes better. Valvo preferred conductive bronze painting, and Telefunken had often conductive coating inside the tube glass, or made tubes without coating. Combinations are possible, like a partial black coating inside, and a bronze cover on the outside. Note, the bronze coating can be connected to the socket with an additional wire. Or, there can be a copper ring of wire inside the socket, connected to the coating, but not connected to the socket. Yet this ring gives some RF shielding. I think for Audio, it's possible to remove this red paint, to get better optics, as it gives little shielding against 50Hz hum fields. Then, when you are lucky, a hole punched (fool's mesh) anode may appear, or when you are lucky, a real wire mesh anode gets visible. Sometimes they have very faint colored blue glass, but it is blue indeed when you look carefully.
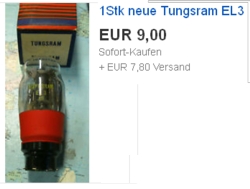

 Here is somebody else, who spend a lot of effort and time on Au8 socket tubes:
And now, how to add the AU8 Socket to the L3-3 tube tester.
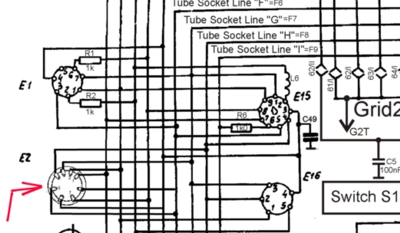 |
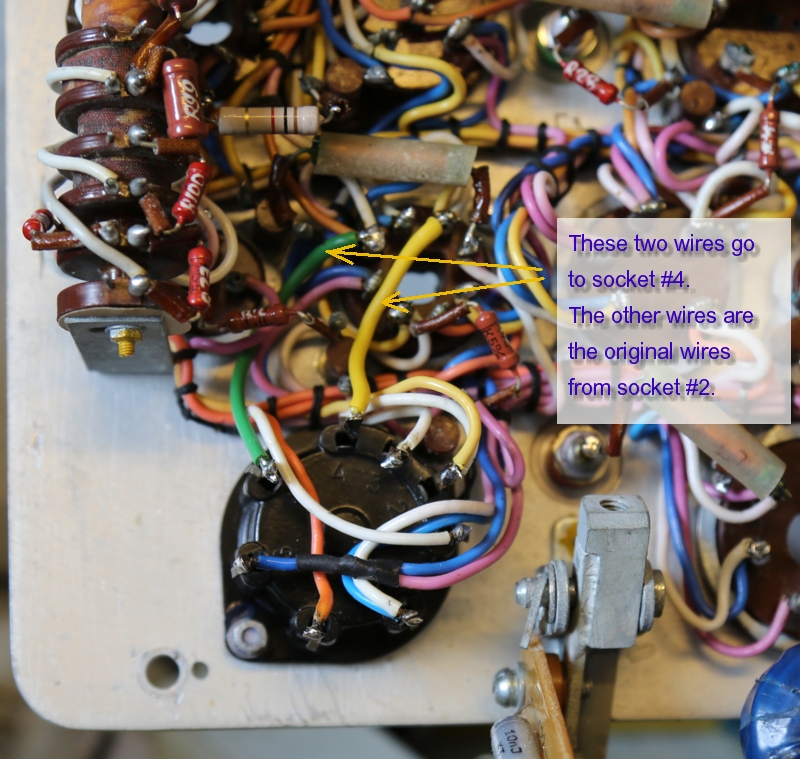
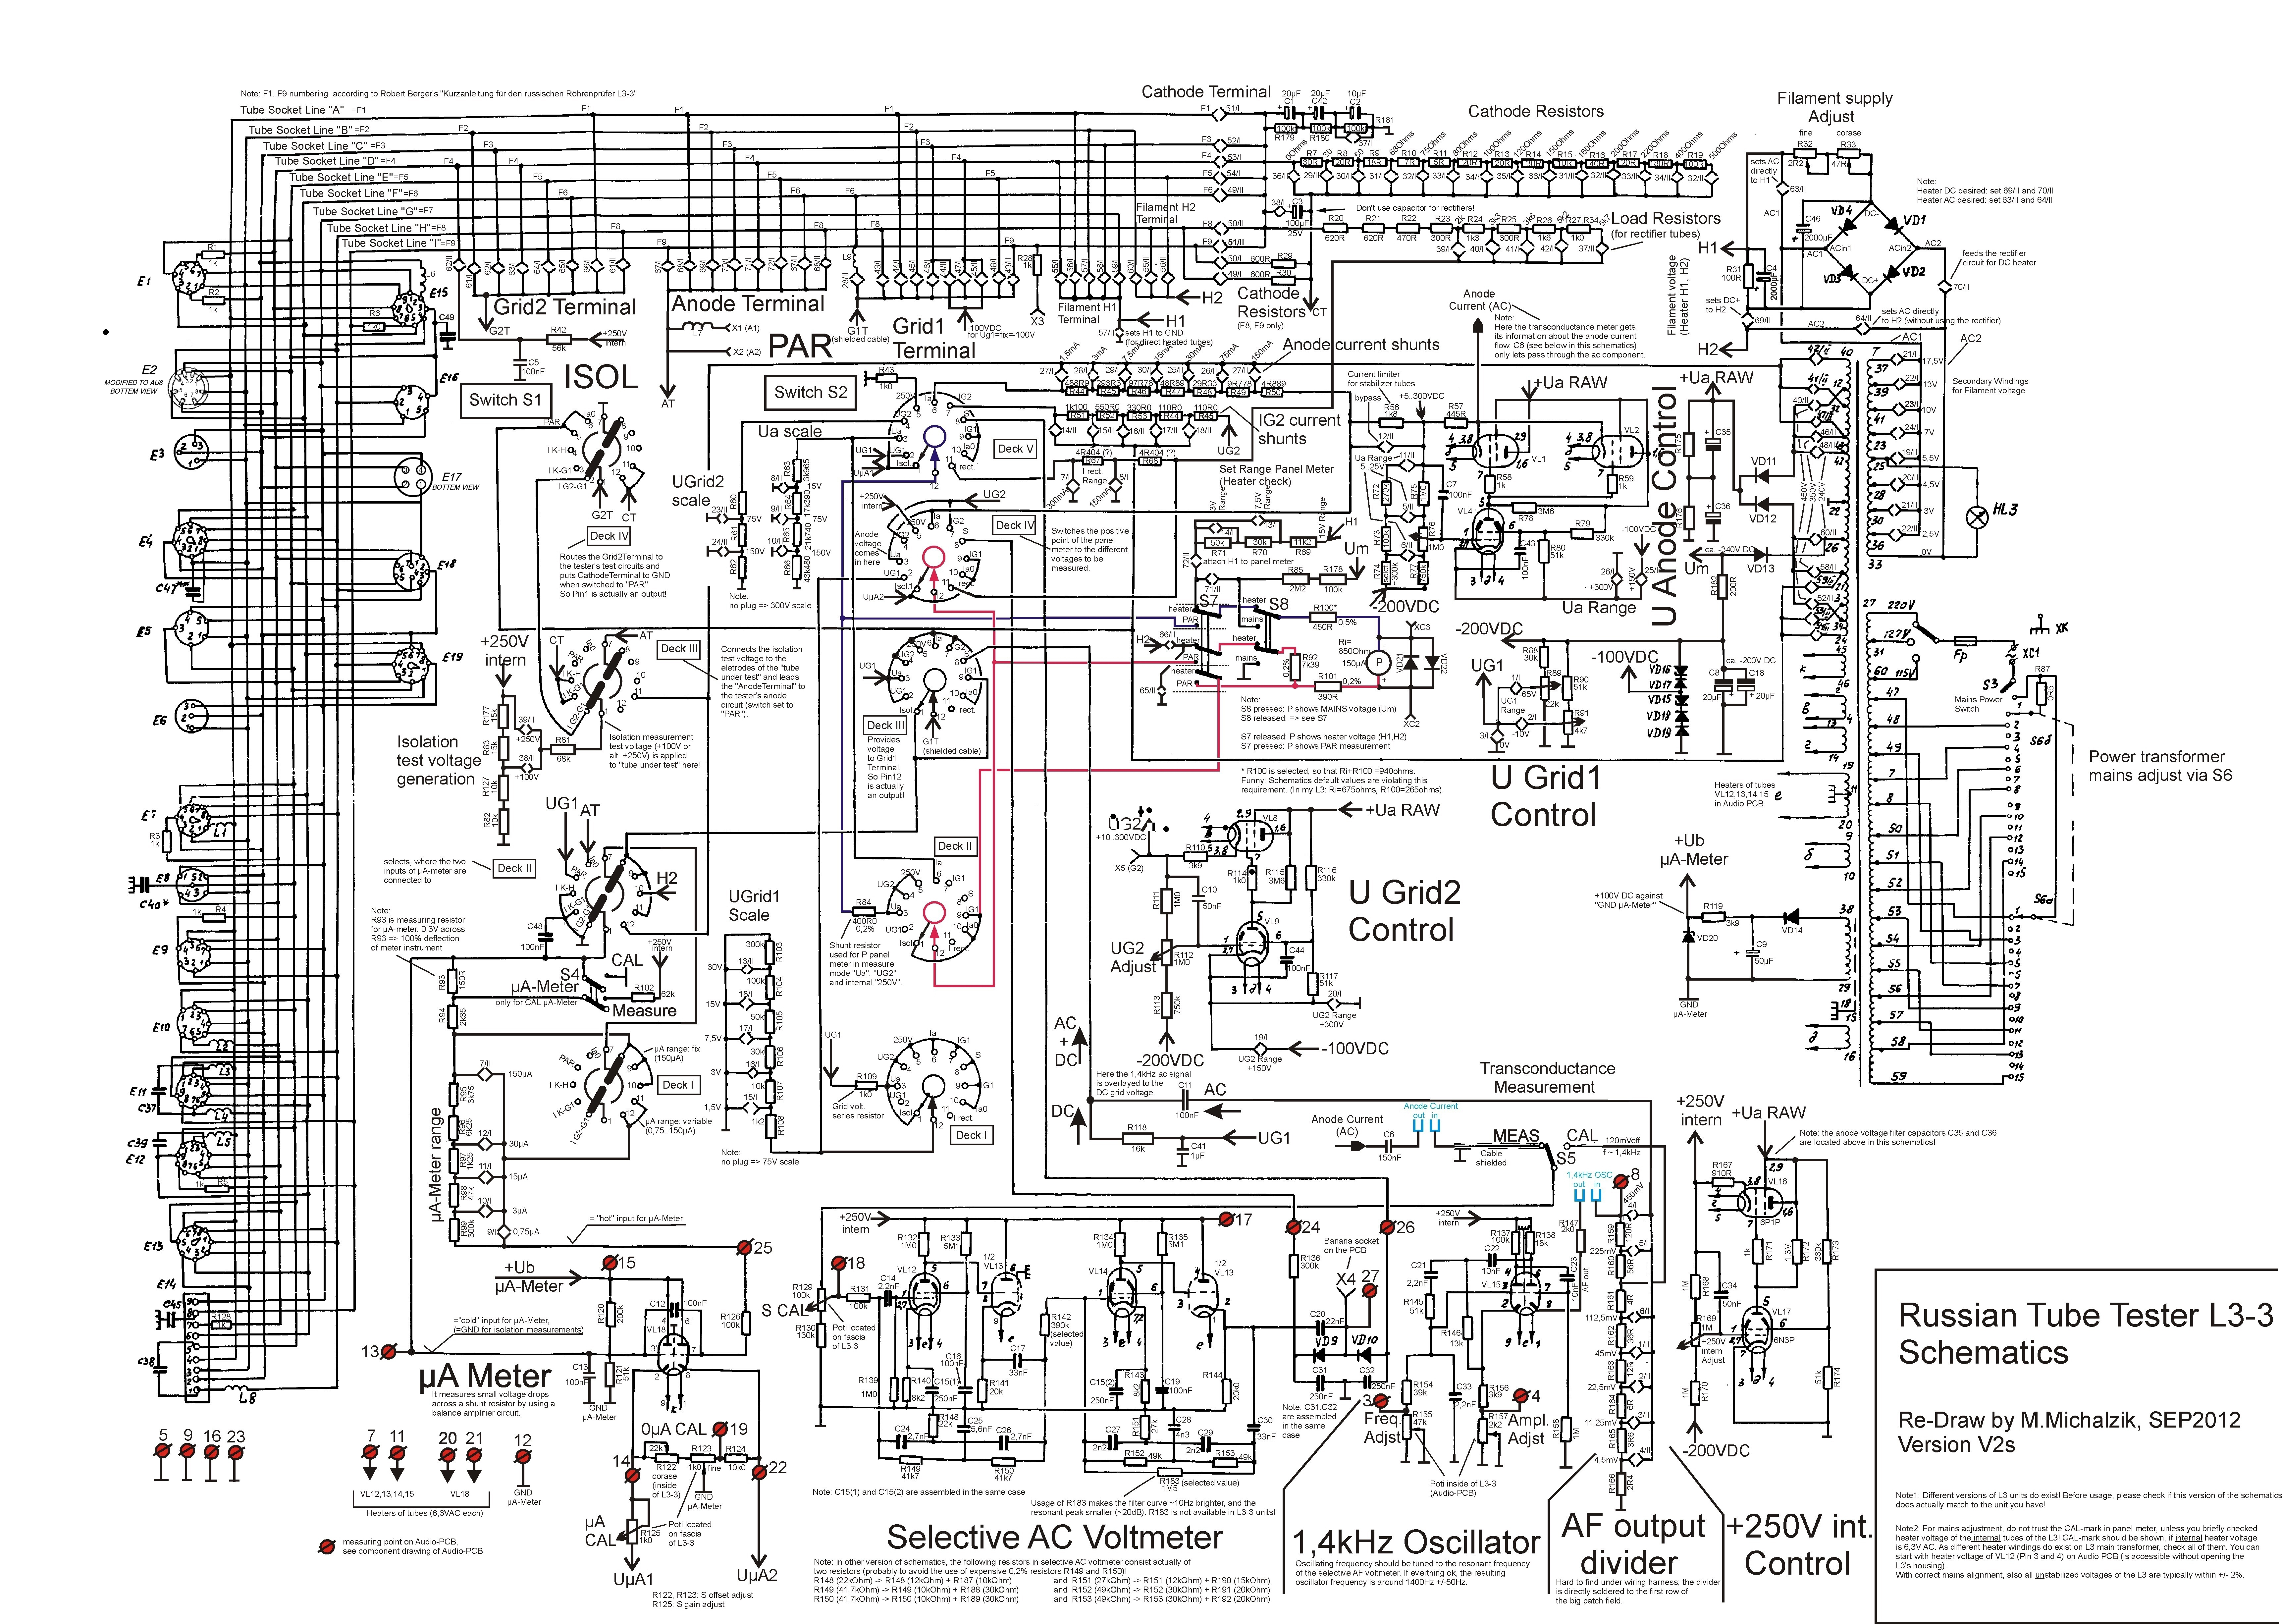
Socket #2 which was totally useless for me. Also it has exactly the screw distance and hole diameter of NOS sockets I have here for Au8. So the decision to exchange the sockets was quickly made! Here you see a detail of the schematic, so you can see where to find it in this schematic, or in this very large one here. | ||||||||||||||||||||||||||||||||||||
|---|---|---|---|---|---|---|---|---|---|---|---|---|---|---|---|---|---|---|---|---|---|---|---|---|---|---|---|---|---|---|---|---|---|---|---|---|---|
 |
All sockets form a wired chain, so the vertical wires in the above schematic are the "lines". So lines A,B,C,D, etc as Marc Michalzik called it, or F1, F2, F3, etc as Dr. Robert Berger called it, this is essentially the same. So "Socket E2" is now of the Au8 type, which has only 8 contacts. As we have 9 lines, we need to decide which line we will not connect. Also the 8 line that we do connect, we need to decide to what socket pins. As the L3-3 is programmable anyway, it doesn't matter extremely much how we connect the lines. Only, if connected stupidly, we may not be able to connect all Au8 tubes with the card pins. However I do not know now yet what is the best way, so I just make this beginning here which seems to look good for rectifiers and AD1. Then, if later on I have to change this, perhaps for testing magic eyes like EM4, I may have to do so. | ||||||||||||||||||||||||||||||||||||
Of you want to make this modification, read this first.
|
|||||||||||||||||||||||||||||||||||||
|
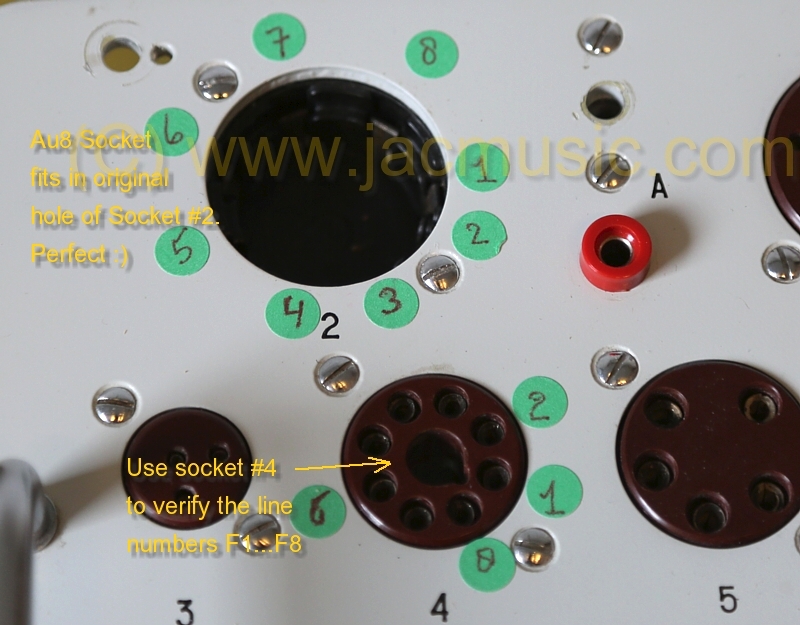
Note: When using test cards for Au8 tubes, such as EM4, AD1, AZ1, AL4, EL3n, and many many more, it may be a good idea to build the Au8 socket inside your tester. If you do not want so, you can build an adapter socket, using the above table. With that adapter you can use the Au8 cards that we sell. Note: Make a good habit, to remove Au8 tubes by the base, not by pulling the glass bulb. For any loose tube base, we sell special glue, which needs no removal of the tube base. Note: Cross check with the plug desk is just an additional test. You can plug the probe of an ohns meter in there, and check against Socket #2. As this also connects the cross bars, you can NOT use this to find the lines (F1...F8), because it will give a "connection" with more than one plug holes. Still, when checking, there should be no "open" contact, or you did something wrong. For finding where the "Lines" are, use socket E4, as this socket is wired directly with contact 1 to line F1, contact 2 to line F2, etc. Before doing so, remove all plugs |
||||||||||||||||||||||||||||||||||||
Follow @emissionlabs
© COPYRIGHT NOTICE All Rights Reserved
![]()